Mastering the art of flower drawing means diving into careful observation of natural shapes and learning a range of simple techniques that reveal the beauty of natural lines and colors. Whether you are a beginner or an enlightened amateur, a few tips allow you to turn drawing into a pleasurable and creative exercise accessible to all. Capturing the finesse of a petal or the delicacy of a shadow on a leaf does not necessarily require sophisticated materials, but rather a patient and curious eye, as well as the will to simplify without losing the richness of floral details. Through this focus, discover how to make your floral compositions livelier while remaining faithful to nature.
In short:
- Drawing a flower is about simplifying shapes and carefully observing every detail.
- Drawing materials such as graphite pencils, markers, and watercolors influence the mastery of natural lines.
- Key drawing techniques include working with light contours, flower shading, and layering for a realistic effect.
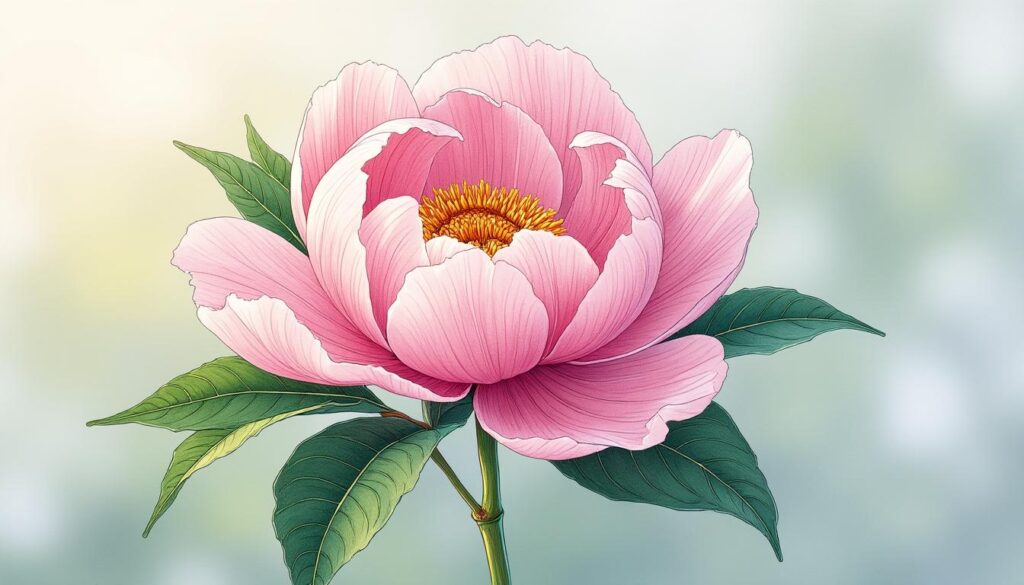
- Each floral variety presents a different challenge: mastering spirals with the rose, or volume with the peony.
- Learning floral composition also involves managing perspective and the arrangement of elements in space.
How to easily draw a flower: keys to simplify lines and observe natural colors
Drawing a flower effectively begins with the practice of careful observation. Rather than trying to reproduce every detail exactly, it is essential to identify the main shapes and their organization. For example, petals can often be represented by oval or rounded shapes, which helps quickly structure the drawing. A little tip I often use in creative workshops with children is to first sketch light shapes with a pencil to capture the overall silhouette before gradually adding details and textures. This method encourages both precision and freedom of expression.
Flowers reveal their secrets when paying attention to color nuances. Working with natural colors requires basic knowledge of shades and a suitable technique to avoid visual overload. Light application of colors, in successive layers, creates depth, softness, and relief that make a drawing come alive. Watercolor pencils or soft pastels are perfect for mastering this subtlety.
Essential drawing materials to reveal floral details and natural lines
The choice of materials plays a fundamental role in the quality and ease of creating a flower drawing. For natural lines and good mastery of natural colors, it is recommended to equip yourself with:
- Graphite pencils of different hardness (HB, 2B, 4B) to vary lines and contour intensity.
- Watercolor colored pencils, which allow both precision and delicate diffusion of pigments.
- Textured paper that facilitates absorption of water or pigments for a more natural finish.
- Fine markers for precise details such as leaf veins.
- A kneaded eraser to gently correct without damaging the paper surface.
With these basic materials, creating floral shapes becomes more intuitive and enjoyable, perfect for introducing both children and adults to artistic creation.
Drawing tips and techniques adapted to each stage of floral drawing
By observing nature, we understand that each flower is built around specific lines and fundamental elements. To progress in flower drawing, several small tips prove effective:
- Drawing light lines initially allows easy modulation of the shape.
- Gradually layering colors offers the possibility of obtaining natural shades.
- Playing with flower shading to suggest the depth of petal curls or the roundness of leaves.
- Observing the direction of veins to enhance realism.
- Integrating empty spaces to lighten the composition and accentuate volumes.
Regular practice of these techniques encourages freeing oneself from rigidity while maintaining control of spontaneity. You can adapt these tips according to age and daily energy, for example by offering a simple creative workshop “to prepare in 5 minutes” to draw flowers with children.
Drawing different flowers: from the rose to the tulip through the peony
Each floral variety invites exploration of its own shapes and structures. The rose, with its characteristic spiral, is an excellent exercise to understand the arrangement of petals. You just need to start with a small central circle and sketch soft curves that wind outward to progressively build the flower. It is a great way to work on perspective and depth.
The tulip, simpler, offers an elegant silhouette and cleaner contours, suitable for a minimalist approach. This simplicity helps better master natural lines and their dynamics without getting lost in too many details.
The peony, on the other hand, presents a real challenge as it plays on the density of overlapping petals. Representing its volume requires careful observation and applying precise shading techniques to restitute the relief while keeping the intrinsic softness of its shapes.
This varied work helps progress quickly while stimulating creativity.
Learning floral composition and bouquet drawing: playing with perspective and light
Mastering a floral composition is not limited to drawing an assembly of flowers. It is about creating a visual harmony where each element finds its place in space. For this, taking perspective into account is essential. Placing the main flowers at different heights and slightly forward or backward gives volume to your bouquet. Flowers closer will appear larger, thus adding a sense of depth.
Light also plays a crucial role in highlighting natural colors. It is advisable to observe shadow and light zones in nature to know where to strengthen flower shading and where to leave clearer spaces to simulate transparency and freshness. This refined combination of technical gestures gives the floral drawing all its brilliance.
These practical methods and good knowledge of drawing materials transform the learning of floral drawing into an accessible and joyful activity. Initiatives linked to creative activities for children also allow sharing these discoveries within the family.
Summary table of key techniques for a successful flower drawing
| Technique | Description | Recommended material | Objective |
|---|---|---|---|
| Light line | Sketch basic shapes without pressing too hard | HB pencil | Make correction easier and prepare the composition |
| Layering of colors | Gradually add colors and shades | Watercolor pencils, pastels | Obtain natural colors and a deeper finish |
| Gradual shading | Integrate shadow nuances for volume | Graphite pencil 2B or softer | Give realism and relief |
| Fine details | Draw leaf veins and other small features | Fine marker or 4B pencil | Make the flower more lively |
Interested in more varied projects? Also check out ideas for coloring and decorating the house, a natural extension to the artistic discovery brought by flower drawing.
Which materials should be favored to draw flowers with natural lines?
It is recommended to use graphite pencils of different hardness, watercolor colored pencils, fine markers for details, and textured paper to better absorb pigments, thus facilitating mastery of natural colors.
How to succeed in shading in a flower drawing?
The secret lies in progressively layering tones and observing shadow and light zones. Using a softer pencil like 2B for shadows allows delicate blending, thus enhancing volume and depth.
Is it difficult to draw flowers like the rose or the peony?
If these flowers seem complex at first, breaking the drawing down into simple steps makes their creation easier. The rose is approached through the petal spiral while the peony requires working on layering and shading to restore its density.
Can floral drawing be learned with children?
Yes, flower drawing activities are perfect to stimulate children’s creativity with adapted and simple exercises, thus fostering confidence while exploring natural colors and soft lines.


